Model Train Information – Scale and Gauge
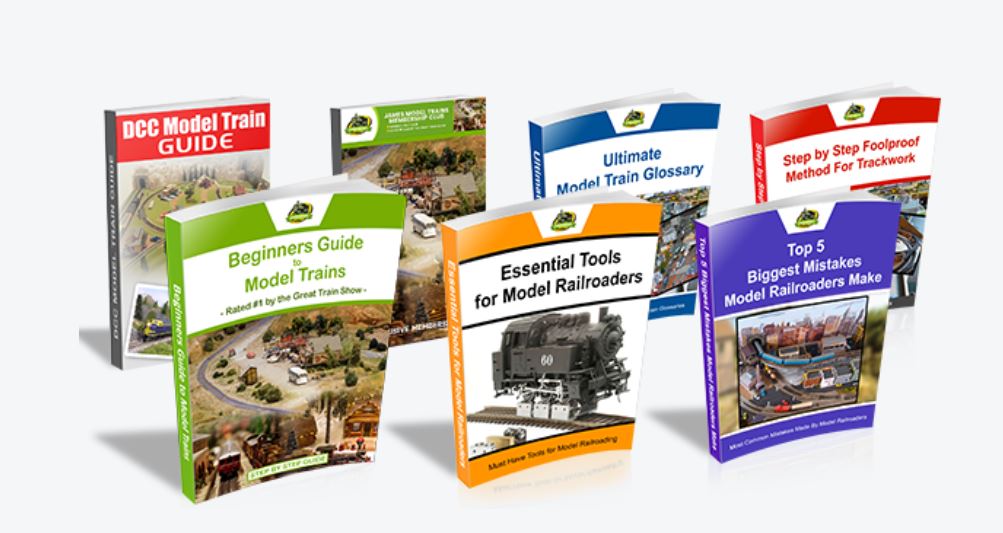
WARNING – As we all know model railroading is an expensive hobby. Don’t make these biggest 5 mistakes. Download the eBook package now.
Understanding Scale and Gauge
The first question you need to ask yourself is… Which model train scale is best suited for you?
Choosing a size (scale) is the first step to your dream model train layout. But, a common mistake for model train beginners is to confuse scale and gauge.
Let me explain…
Scale is the proportion of the replica to the real thing or ‘prototype’. For example, HO (pronounced “aitch-oh”) scale locomotives are 1/87 the size of the real life locomotive or an HO scale locomotive is 87 times smaller than the real locomotive.

Figure 1
Model train gauge is the width between the inside running edge of the track.
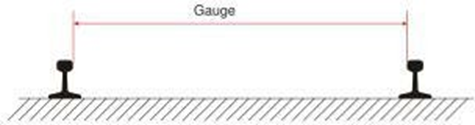
Figure 2
The popular model train scales and their minimum turning radiuses are:
| Scale | Proportion to Real Size | Minimum Radius |
| O scale | 1:48 | 24 inches |
| S scale | 1:64 | 22.5 inches |
| OO scale (popular in UK) | 1:76 | 21 inches |
| HO scale (nearly 75% of railroaders) | 1:87 | 15 inches |
| N scale | 1:160 | 7.5 inches |
| Z scale | 1:220 | 5.75 inches |
Table 1
O scale is the largest scale, to Z scale being the smallest scale. An O scale model train set is 1/48 the size of the real thing, while a Z scale model train set is 1/220 the size of the real thing. All the trees, bridges, roads, buildings and other accessories are all scaled to the relevant size.
HO scale got its name because it is roughly half the size of O scale. HO scale came about in the depression of the 1930’s when model railroaders needed a cheaper model train solution. After the second World War the popularity of HO scale exploded and it has been reported that today almost 75% of model railroaders are using HO scale.
In real life, railroads have a standard gauge to allow any train to run on any railroad, basically. In model railroading if the scale is shown by its letter only (Z, N, HO, S, O) you can assume that the gauge is standard.
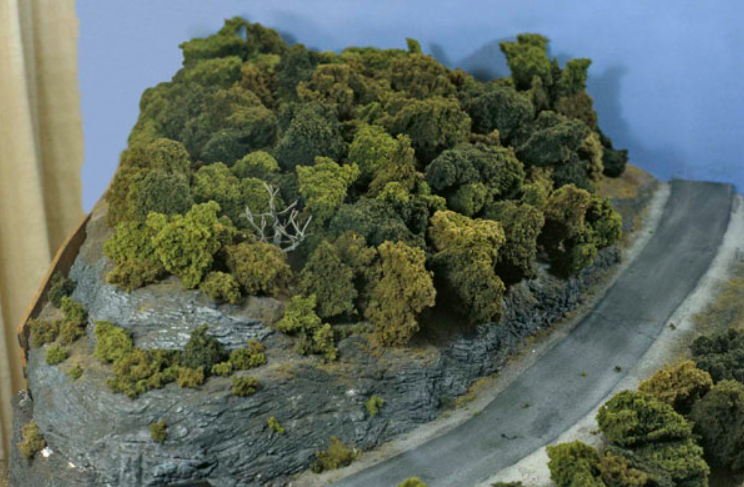
A narrow gauge railroad has the rails closer together. In real life this is usually used where there is construction or geographical constraints, like in mountainous areas, through the trees in forests, etc.
In model trains narrow gauge is depicted by the small letter ‘n’ and some numbers after the main scale letters. For example narrow gauge HO scale would be represented as HOn3. The 3 represents 3 feet wide, which is the narrow gauge in real life, rather than the standard gauge of 4 feet 8 1/2 inches wide.
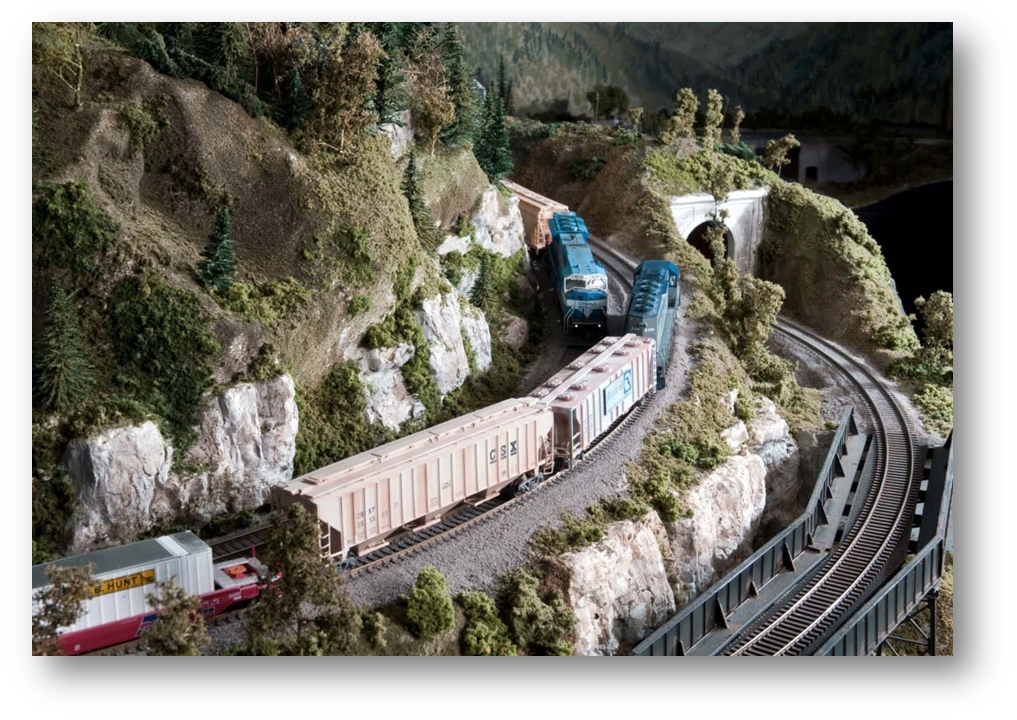
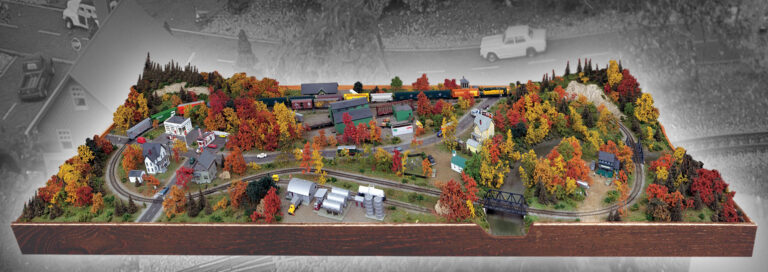
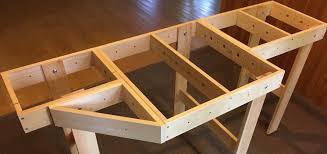
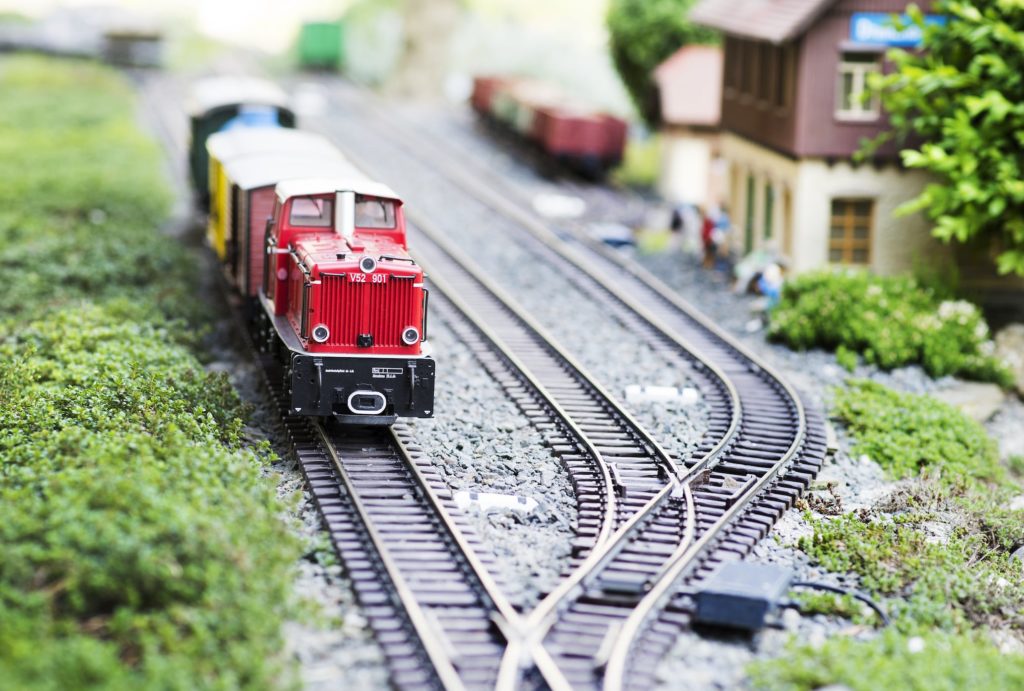
Figure 3 – HO Scale layout by Mr Jan Nielson
So Which Scale Should You Choose?
Choosing which scale you should model in comes down to 3 deciding factors:
- How much space you have available for your model train layout,
- The physical size of model train equipment you prefer working with, and
- The accessories available for that scale. Let’s go into more detail…
1 – How Much Space Do You Have Available?
Building a layout in HO scale will be almost half the size of the identical layout in O scale. Turning radius’s in HO scale will be tighter; tunnels will be smaller and, most importantly, it is easier to hide mistakes in a smaller scale.
Larger scales need more detail and it can often be very hard to create a realistic looking layout in a large scale. HO scale has become very popular because it is a “middle-of-the-road” scale and easier to make look realistic.
An HO scale switching layout can be created on a 4 x 1 foot table, while a continuous loop railroad will need a 3 feet 6 inch x 4 feet table. A layout space of 6 feet x 4 feet would be enough to have an interesting HO scale layout with a continuous loop.
Still don’t have that much room available? Then consider an N scale railroad which can be built in 30% of the area required by a similar model train layout in HO scale.
2 – Which Scale Do You Prefer Working With?
Fat finger syndrome or bad eyesight can sometimes force us to consider the larger scales. It can be very frustrating trying to airbrush a Z scale carriage or manipulating N scale rolling stock. They can be very fiddly!
Children will find it easier operating and manipulating the bigger scales, from HO scale upwards. Bigger scale rolling stock tends to be heavier and less likely to derail.
The ladies seem to prefer the intricate smaller scales, while the men tend to go with the HO scale and larger scales.
3 – What Accessories Are Available?
Over the years the HO scale has become the most popular model train scale and the manufacturers have responded to the demand by producing more accessories and rolling stock for HO scale. HO scale is just the right size for most people to appreciate the detail and running performance without being too cramped.
If you decide to run digital controllers and have lots of switching operations then HO scale is usually the preferred choice. Check with your local hobby shop to see which scale they have the most accessories for. It is often easier to buy from your local hobby shop initially… or at least until you know exactly what you want.
Mixing Scales
Scales that are close together are very hard to tell apart with the naked eye. A 1:43 model car next to a 1:48 scale model train will probably never be noticed.
Another great modeling trick is to use different scales of models together to create a false sense of depth – a “forced perspective”.
Some common examples of mixing scales are:
- Using N scale (1:160) model trains in the background (distance) with H0 scale (1:87) in the foreground. This gives the illusion of the N scale train being further away than what it is.
- Mixing 1:43 scale, 1:48 scale and 1:50 scale die-cast models with O scale model trains. The scale differences are negligible, so nobody will ever notice the difference.
- Using Matchbox cars (1:64 to 1:100) with H0 scale. Veteran modelers may frown on this but for beginners it is a great economical mix.
- Using 1:144 scale die-cast models with N scale.
Essential Tools and Materials
It is not necessary to have every tool there is available, and often a simple toolset will do you for a long time. As you get more advanced with your skills you will find the need to purchase more advanced tools.
Tools are a great investment if you buy quality. They will last forever if you look after them, use them for the job they are designed for and don’t misplace them.
Cheap low quality tools may be good for 1 use and then you’ll be buying the same tool again. Often you don’t realize the quality of a tool until you use it over a few years. A good quality knife will hold its sharp edge for up to 50 times longer than a cheap knife… And we all know how dangerous a blunt knife is!
Always have the right tool for the job though… I’ve seen some beginners trying to nail down tracks using the ends of fencing pliers instead of a hammer. This is the kind of action that quickly damages fingers… it is very unsafe.
Here is a basic tool list to start you off with:
| Carpentry: | Electrical: | |
| Hand cross-cut saw | Electrical screwdriver set | |
| Small coping saw | Small electrical cutters | |
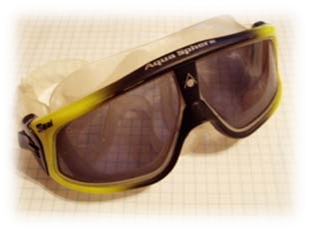
| Safety glasses | Needle nose pliers | |
| Small hammer | Electrical pliers | |
| 3/8” reversible drill and bits | Soldering iron | |
| Adjustable wrench | ||
| Carpenter’s square | ||
| Painting: | Modeling: | |
| Disposable gloves | Sharp knife | |
| Set of artist paint brushes | Small modeler’s razor saw | |
| Cartridge type filter mask | Small mirror | |
Always Work Safely
Model railroading involves some basic carpentry and electrical work which means there is an element of danger involved, especially for children. So you need to be careful and work safely.
Tools are used to cut and drill, adhesives, paints and solvents are used that could be harmful, and electrical components could shock you, or your children.
Hot soldering irons could burn you, or a child. Loose fitting clothing could get caught in a power tool.
Don’t let the possibility of harm dissuade you from building your dream model train layout… You just need to be aware of them so that you can anticipate the potential harm and plan for them… it’s mostly common sense.
Figure 5
- Use safety glasses when cutting or using a hammer.
- Make sure your tools are in good shape – cutting edges sharp, hammer heads fixed well to handles, cords on portable tools safe, etc.
Always Think Safety!