Designing and Planning a Practical Model Train Layout
Sign-up for more tips, tricks and weekly Free Cutouts
You may have already started with a train set bought from the local hobby shop or retailer.
It probably came with at least an oval of track (or figure 8), a power pack, a locomotive and some freight cars.
You could set this set up as a temporary layout on a ping pong table or on an old internal door laid across 2 saw horses.
This provides a quick platform, other than the dining room table or kitchen table, to build and rebuild the train layout.
However if you want that dream model train layout you will want a permanent solution.
Space can be a problem for some people and often holds some people back from creating their model train layout.
But space is not really an excuse anymore because there are many different solutions.
Hideaway layouts can be created on a board, attached to a cable and pulley system and lowered from the ceiling.
Provided your ceiling structure will handle the weight this is a great solution
for most people with a space problem. Graham Lines has done exactly this, as can be seen in the picture above.
Shelf layouts in HO scale can be built running along a wall. They only stick out less than 12 inches from the wall, as can be seen in the picture below. A backdrop can provide more depth.
Coffee table layouts in N scale or Z scale can be built for the center of a room. This is a great talking point as the trains negotiate the track inside a glass covered coffee table.
There are many solutions! They are only limited by your imagination. Have a look at the picture of David Howarth’s layout in his loft…
Just a little creativity is all that is required.
We have seen and heard of shelf layouts that run just a few inches from the ceiling around a bedroom… To layouts that run from room to room (through holes in the walls) in houses.
There is no excuse… space is no limitation.
So, if you have bought one of those beginner model train sets, how do you transform that into your dream model train layout, and have fun doing it?
Well, with some initial planning and avoiding the biggest mistake beginners nearly always make.
That mistake is going too big too quickly… usually with the layout never getting finished!
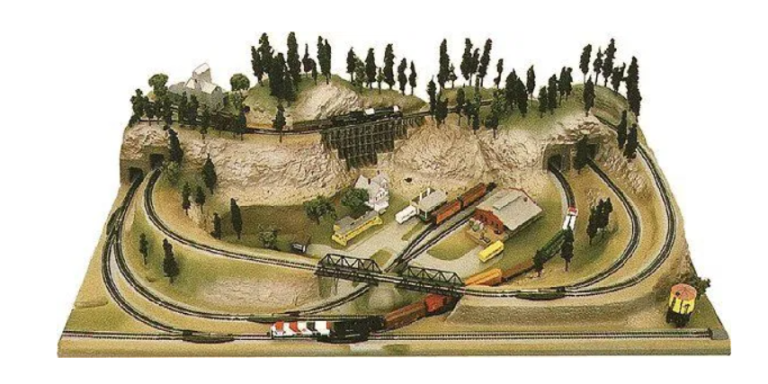
The trick is to start with a small layout, like a shelf mounted layout or a 4 x 8 foot layout. It is fairly simple to build a 4 x 8 foot bench; we cover this in the next chapter.
It is relatively inexpensive to buy everything you need and will give you a great size layout to get you started.
Most of the huge basement mega layouts started from a simple 4 x 8 foot layout and grew over the years. Another 4 x 8 foot extension is added and then another and another.
Largest model railroad in the world
Figure 15 – Largest Model Railroad in the World Click the image to play the video.
Next, you need to decide which era you are going to model in and if you are going to model a certain prototype.
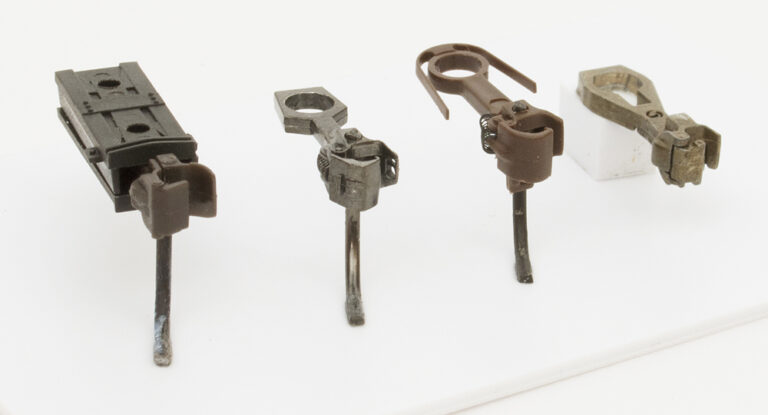
There is a large variety of track section available on the market today, from straight sections, to curves, flexible track and turnouts or switches.
When you are starting out, it is tempting to buy equipment from the Christmas sales in departmental stores.
But, this equipment is usually made for the “toy train” market. There is a big difference in quality between the “toy train” equipment and the “model train” equipment.
Toy train equipment is made for the low cost, high turnover children’s toy market, while the model train equipment is made for the serious railroader. The prices are distinctly different and you get what you pay for…
Some of the bottom of the range locomotives will not move when the power is switched on, until you push it along… and then it takes off at a hundred miles an hour and jumps off the track at the first bend.
This will put you off the hobby forever!
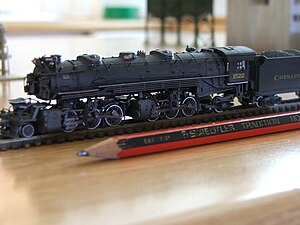
A good quality track, power pack and locomotive make model trains an absolute dream. They are so good nowadays that you can turn the power to the speed you desire and the locomotive will take off slowly.
Figure 18 – Quality Locomotive
As the locomotive moves along it gently builds up to speed. On stopping the locomotive will gently slow down and come to a smooth stop… exactly as the real locomotives do!
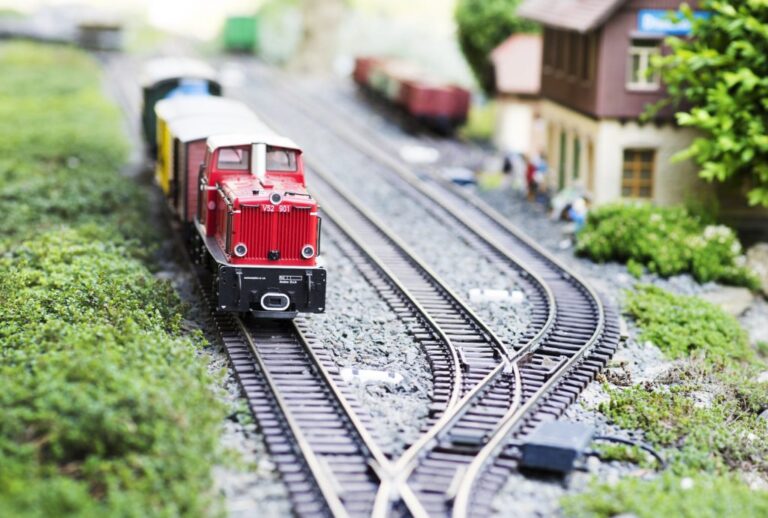
In the beginning of your model train life, stick with short diesel locomotives and short carriages.
This allows you to use tighter bends to suit your smaller layout. Long locomotives and carriages tend to derail quickly on tight bends because of the extra overhang.
I guess if you have read this far you are edging towards the serious railroader status. This area is where the real model train fun is.
A simple Google search will provide you with hundreds of different plans.
Some will come with a shopping list of track sections you need to buy for the plan, or you may have to calculate the sections required.
However if you have decided to model a certain area the best solution is Google Earth which is available at http://earth.google.com/
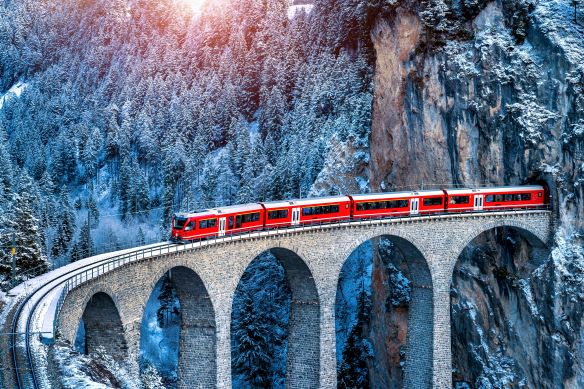
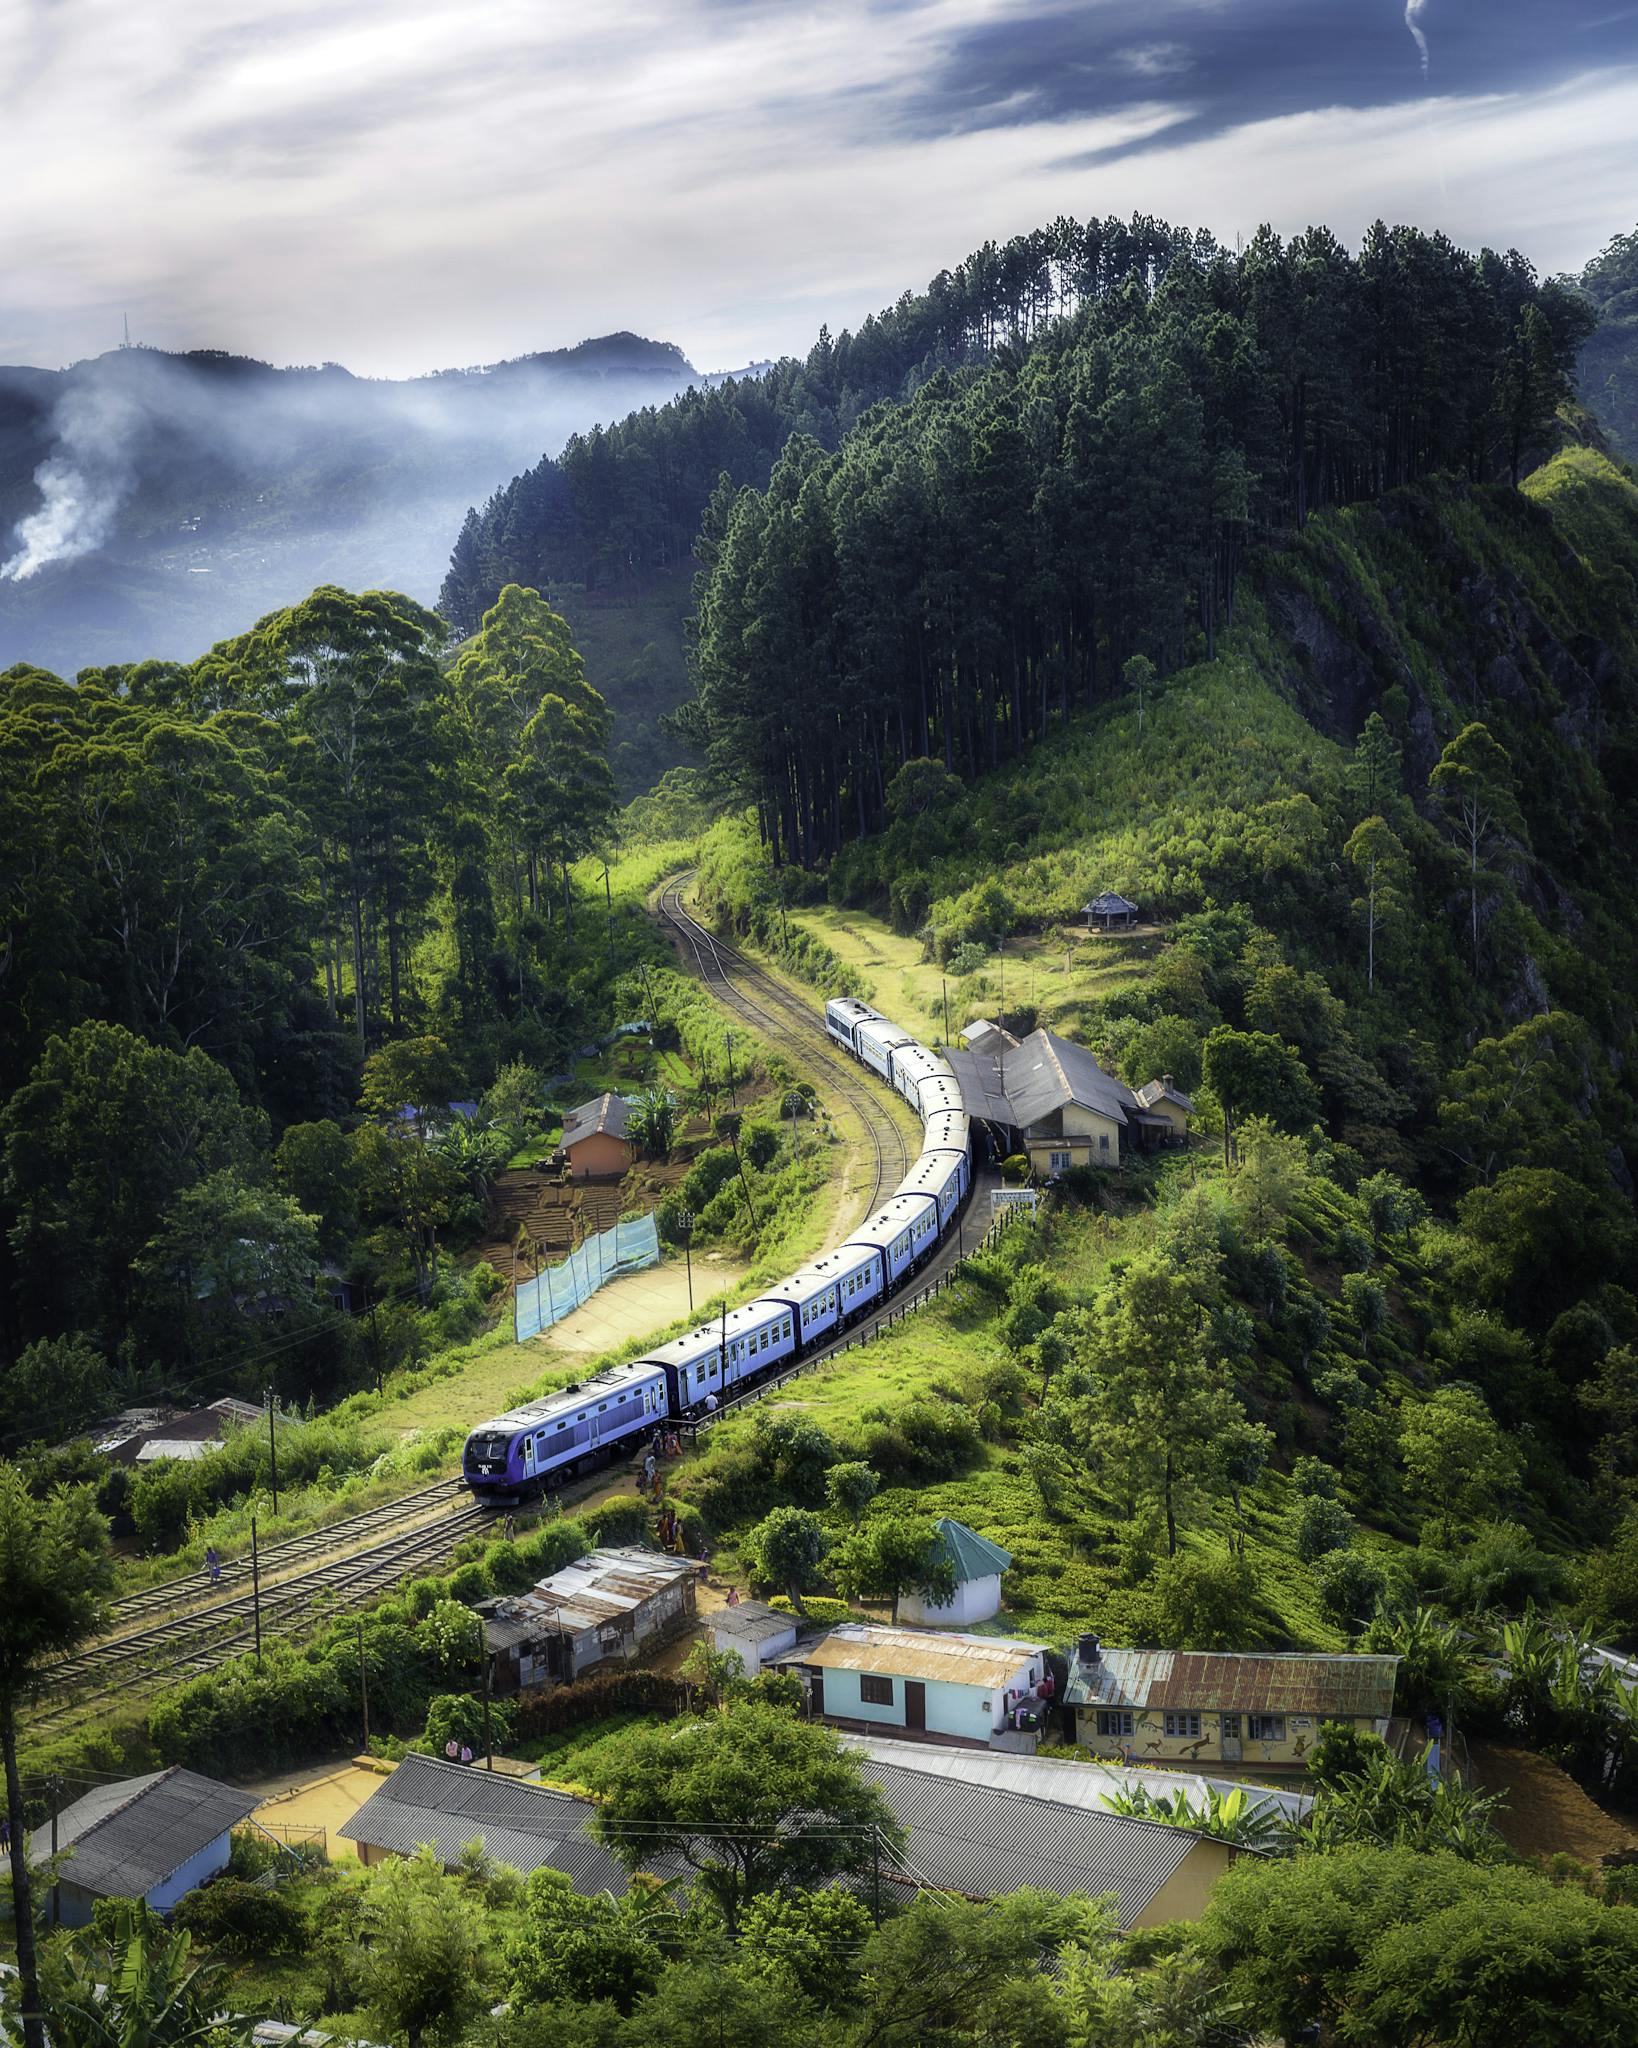
Google Earth gives you a great geographical representation of what you are about to model.
By using the correct scale you are able to model exact elevations, distances, landscape and more.
Always remember that your layout has to be operated by you.
And people will want to watch the train operating. If you are using a 4 x 8 foot bench it would be ideal in the center of a room.
That way you can get to all sides of the bench to replace derailed trains or repair any faults.
If that same bench was set up sideways against a wall you would struggle to reach the other side of the bench to correct any faults or problems.
By having to stretch over your layout you are risking damage to the scenery you are leaning over.
It can be discouraging to have to repair a scratch built model you crushed by leaning over it to repair a derailed train. With some initial planning you can completely avoid this.
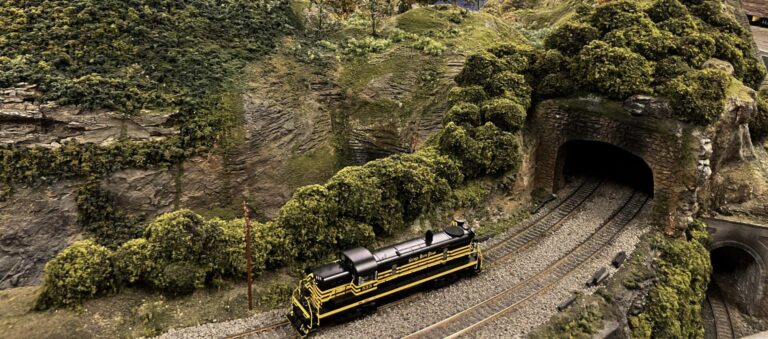
Figure 20 – Glenn Ritter’s Layout
In summary these are the most important elements you need to consider when planning your layout:
- Reach ability – the ability to reach any working part of your layout without having to stretch.
- Comfort – making your layout at a comfortable height and position for you and any helpers like children.
- Electrical – consider where the power pack will be mounted in relation to the electrical wall outlet. Think about how you will disguise the wiring from the power pack to the track.
Once you have these practical elements in place, you can then plan the look of your layout:
- Prototype or not – it can be challenging to model a real-life layout but very rewarding. If you decide to go with modeling a prototype you will need to do the research to find out all the details. Usually beginners start by creating their own model train layout before trying to model a prototype.
- Steam or diesel locomotive – is your model based on the steam era or the modern era? Whichever era you decide on, you need to plan the landscape accordingly.
- Short or long carriages – With short freight carriages you can get away with tighter bends. However long passenger carriages will need bigger radius bends to avoid derailments.
- Standard track or all-in-one track – While the all-in-one track is a great time saver, you may prefer the deadened sound, and the extra modeling work involved in laying standard track.
Now that you have planned your dream model train layout, let’s move on…
WARNING – Model Train Railroading is an expensive hobby. Don’t make these mistakes.