How to Easily Build Realistic Scenery
Now is when we get to the creative side of model trains. Creating realistic scenery is the part that pulls your layout together and brings it alive.
You’ve started with a train set, and now it’s time to convert it to a full scale model railroad.
Scenery is the geographical setting of your layout. It’s the countryside and cityscape that your railroad will eventually run through. It can be as simple or as elaborate as you want.
Hobby shops online and offline sell a huge selection of scenery products to make the job easy. These range from imitation groundcover and grass to rock molds, trees and shrubs to scenic backdrops.
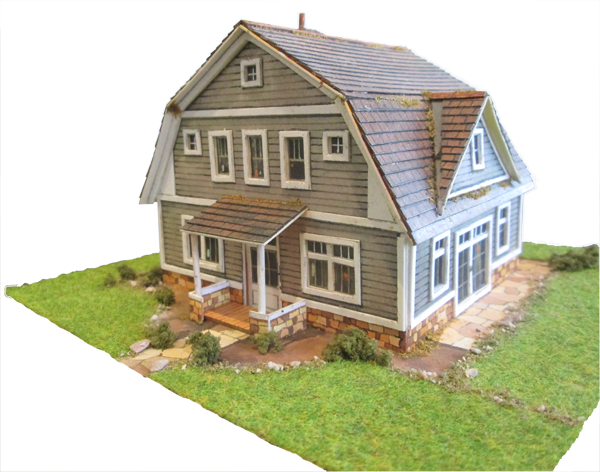
In the planning stage of your layout you would have thought about the era of your railroad and the location geographically. You may need to research this era by surfing the internet or visiting the library. Pay attention to the architecture of the buildings as this detail will add more realism.
Find out what shrubs and trees are found in that geographical location. That way you can buy or make the correct trees and shrubs.
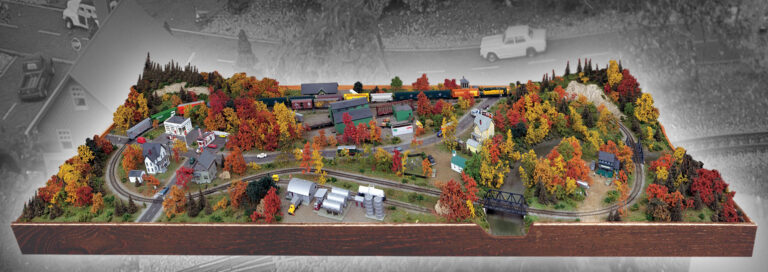
Consider the season you are modeling in. Depending on your geographical location you may need flowers in spring and summer, colorful leaves in fall and even snow in winter.

Figure 52
Trains have a purpose for being there. Real freight trains transport freight between industries, towns and cities. Passenger trains transport passengers between towns and cities. Think of your layout. Where will the station, tunnel or bridge be situated?
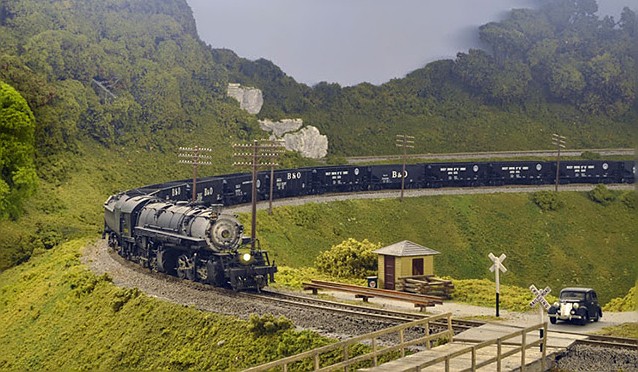
Have you considered the crossings and having operational signals? Blinking lights and operational features on your layout add more life and the children love them.
Working water towers, coal loaders, control towers, elevators and conveyors add a completely different dimension to model railroading. To build and operate a fully working scene, which gives the railroad a real purpose, is much more interesting and rewarding.
You will find yourself taking more notice of the world around you. Have a close look at real life crossings and look for how the road joins with the crossing. Notice how the ballast is dirtier in the center of the rails compared to the outside. Notice the vegetation that grows close to the railroads. Notice how signage on buildings is placed and replicate all these findings on your model train layout.
A great trick to create depth to your model railroad is with the use of mirrors. A road or track that butts up to a cleverly disguised mirror in your backdrop will give the illusion of the road and track continuing. A mirror behind a town, shunting yard or station can make it look it twice as big.
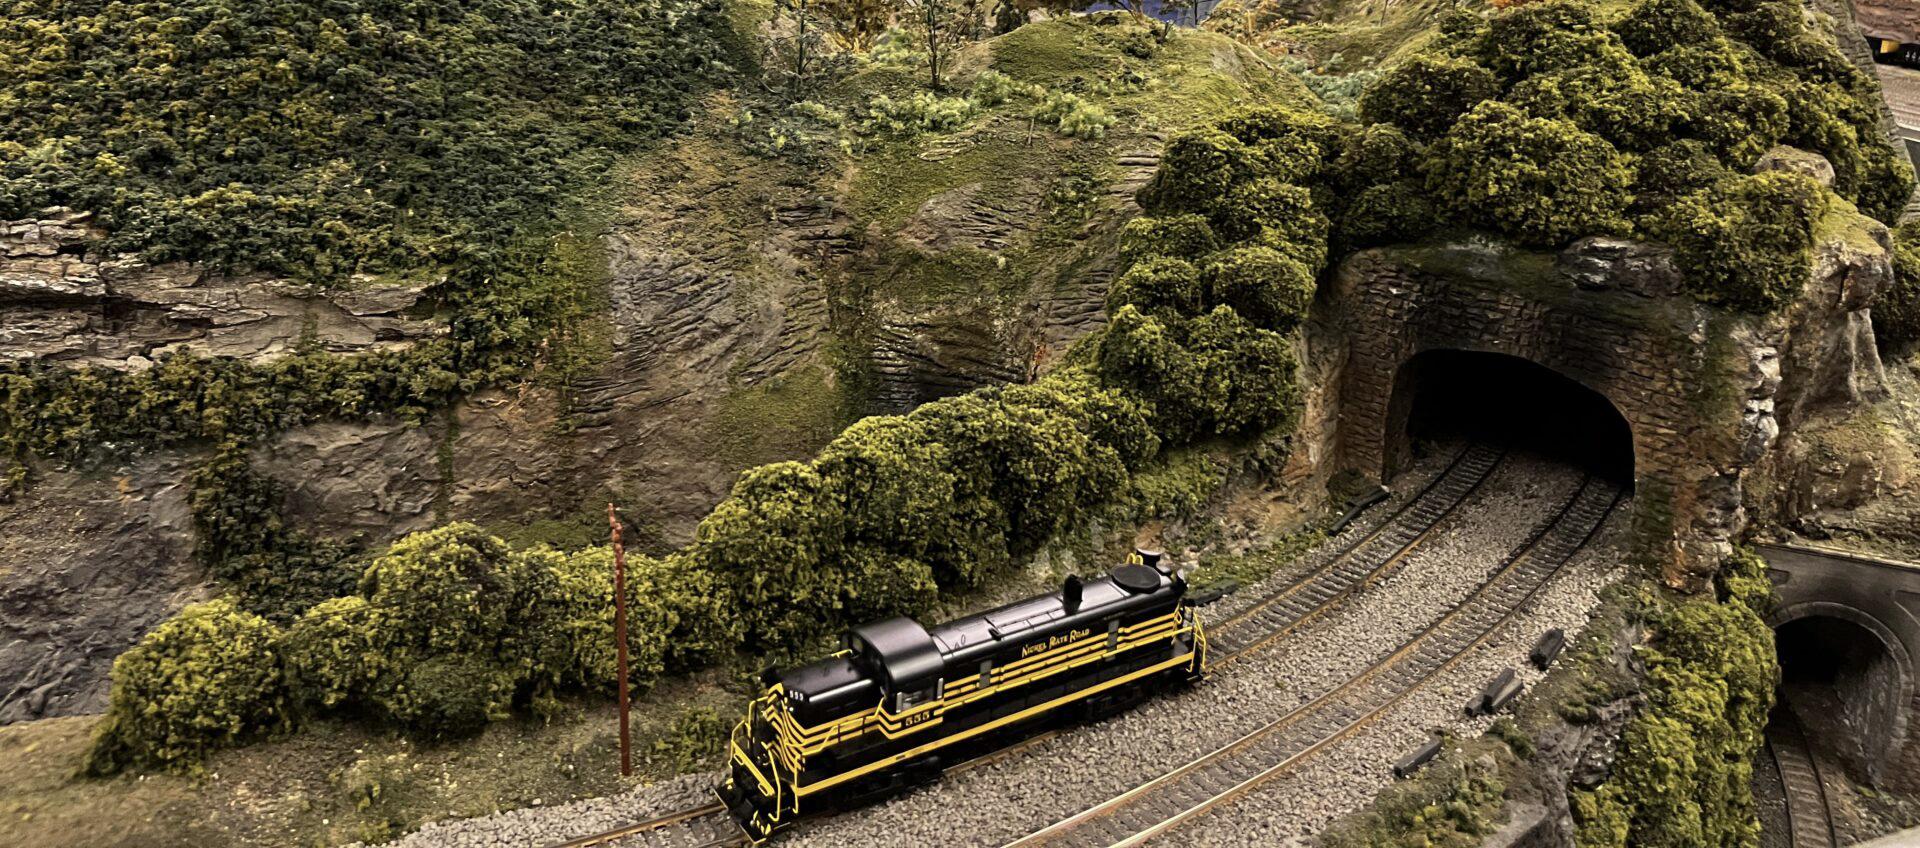
An exciting layout has to have a hill. Most beginners think that creating a hill is best left to the experts. They think that it is hard to make it realistic, when in fact it is quite simple and fun to build.
The trick is in being observant.
Taking notice of the world and its details will help you with your scenery. While you drive and walk around, look at the hills and notice where the grass is, where the rocky outcrops are, where the clumps of trees are, and what effect the shadows have. Taking note of all these features will help in creating your own realistic hill. A photograph is very handy to refer to when you are modeling, but sometimes details get lost in the photo.
Hills can be created quickly by using a painted backdrop or a large digital print if you have a narrow book shelf type layout. However if you have a bigger layout you will need to create the hill.
There are many materials that can be used to create hills. Foam, plaster, Hydrocal and paper maché are the common materials used. However there are many ways of achieving the effect you require.
Some people prefer a hard shell hill. This is created with a light framework of cardboard strips stapled to your base, or wire mesh. This framework is then covered with newspaper and then covered with Hydrocal soaked paper towels. This forms a hard shell over the framework when dry.
Another quicker and cleaner option is to use foam insulation. Foam insulation is available in sheets and in a few different colors. It can be bought from any hardware store, or from the dumpster at most construction sites. Builders throw out off cuts of foam

Figure 54
insulation that is usually perfect for your model railroad. Just remember to ask before you take, in case the supervisor gets upset.
The white ‘beadboard’ foam can also be used but is a bit more messy and not as strong.
Foam insulation is a popular material for scenery. It is easy to use and inexpensive. A 4 x 8 foot sheet of 1 ½” thick foam insulation is a great size to cut and shape. The foam comes in many different thicknesses.
The foam is best cut with a hot wire foam cutter, available from any hobby shop.
Start with a piece of newspaper laid on your layout where the base of the hill is to be. Cut out the shape of the base of your hill. Transfer this newspaper template onto your foam and cut out with a serrated knife. It can be rough as you will finish the edges off later with the hot wire foam cutter.
To add more height you need to add another level of foam. Cut the second level slightly smaller than the base. This will be the start of the gradient of
your hill. If you need more height add another level of foam, until you get to the height you want.
Click here for lots of clever model train layout ideas
Each level can be held together with toothpicks until you have finished all the main cutting. When you are happy with the overall height and size the levels can then be glued together using liquid nails or something similar. Don’t glue the hill to your base, yet. It is much easier to sculpt it by removing it off the base.
Once the glue is dry (at least 24 hours) you can then sculpt your hill. This can be done with a rasp, serrated knife and a hot wire foam cutter. Remember water runs off hills when it rains. This erodes the earth which causes small gullies. These small features will add to the realism of your hill. If you mistakenly cut a chunk out of your hill that you didn’t intend to, just glue it back!
Once you have finished sculpting your hill you need to lay it loosely in its final position. Check the clearances around the hill, making sure the train won’t catch or rub on any part of the hill. If all is okay the hill can then be liquid nailed to the base in its final position.
Once the adhesive is dry the hill can then be colored with an acrylic paint. But before painting use masking tape to cover up your tracks to prevent any unwanted paint drops on the rails.
When coloring the hill give careful attention to where the earth spots are, where the grassed areas are and where the shrubbery and trees are. While the paint is wet the simulated grass and groundcover can be sprinkled over the wet paint. The paint acts as glue for most of the groundcover.
Coloring your hill, and the technique involved in sprinkling fake grass and groundcover, is something that you will get better at with time. It is definitely a case of practice makes you better.
Experiment with different shades of paint, and mixing different colors of groundcover to create your desired effect. Try using real dirt put through a very fine screen for earthy ground cover and coloring, clumps of grass and whatever else you think it needs.
Let your imagination run wild! But don’t be scared!
Often the most realistic hills have been painted and repainted many times.
The extra layers of paint can actually add to the realism. Just keep trying… you’ll be amazed at what you can create.
To finish off your hill you need to plant your miniature trees and shrubs, place the fences, or any other features you may have thought of.
Readymade trees, kit trees and supplies for building your own trees can be bought online or at your local hobby shop.
Lichen (pronounced like-en) is another material that is available to create bushes and trees. Don’t think you need to buy everything from the hobby shop. Great effects can be created with kitty litter and sawdust mixed in a dye solution.
You can create some stunning scenery inexpensively … it just takes imagination!
Click here for lots of clever model train layout ideas
