How To Construct Buildings For Any Scale Model Train Layout
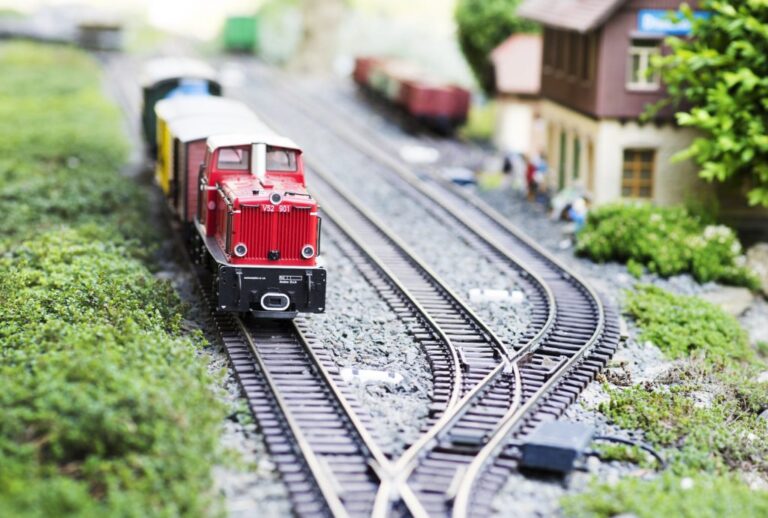
In any layout you must have realistic scenery, including buildings, so you might as well include some buildings if you have a model train layout. It is really important to build structures to the correct scale, as a Z scale building would look at of place on a HO scale railway and vice versa. It is the fine details and finishing touches that will really impress, especially if you have crafted them yourself.
Please consider this first before you get started. You may be a genius at wiring and laying track, but if you don’t think you are of the crafty type then you may not want to attempt creating your own buildings. In which case you could buy your structures ready made or in kit form, or rope someone else in to help with that side of things. Many husband and wife teams work together building their layouts, with each one focusing on different aspects of the project.
Some hobbyists like to do everything themselves, and in all fairness, there is a great deal of satisfaction to had from taking this approach. If you do enjoy crafting your entire model train layout from scratch, then it will certainly be an enjoyable project for you.
If you are thing of crafting buildings on your own from scratch then here are some ideas. There are a number of different construction methods and the following is one way to get started:
Click here for lots more clever model train layout ideas
• What you need before you get started – a computer with animation or picture editing software. Some of the recommended software are Adobe Photoshop or Corel Photopaint which allow you to edit your image in greater detail. This is important because you will be downloading building images from the web and then printing them. You will obviously need a printer along with your computer, so that you can print and cut out your walls, roofs, and other parts of the building.
• Another option is to browse the internet for websites on model trains that offer downloadable already-designed paper building cutouts. Once you have found the ones that you prefer, download them to your computer and open them through a particular image editing software. Once you have them opened within your software you can edit and format them to your liking. If they print out at on a weird scale, simply adjust that within your software and print them for the scale that you want. Try and keep the scale as close to your other features so that nothing will look out of place.
• Another option is to purchase some software that creates images of buildings that you can print out. This software allows you to select the wall surface design such as stone, brick, wood etc. and to select the style of roof, doors, and window frames. It then creates a printable image showing each elevation of the building eg. Side view, front view etc.
• Scissors or a craft knife would be very handy as well. You will want a very reliable and strong paste for your printouts. For your printouts to turnout well you will want to get stronger paper that you can print the images on to; and then balsa wood so that you can paste them to a frame to hold them up. This will ensure the durability of your structures.
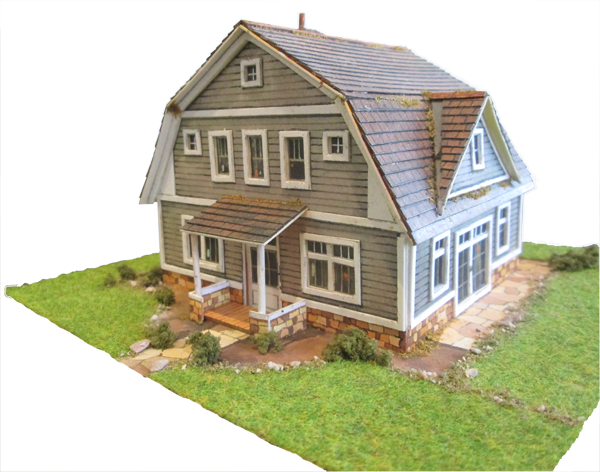
Actual construction of buildings:
• To create very stable buildings you will want to include the balsa wood that was listed above. The wood will be the frame of the house and something to attach the image to that you printed out.
• Print your images on to durable paper or cardstock. You might want to paste the image on to plastic or foam to add strength. Begin to cut thin strips of balsa wood according to the scale of your building. Cut a strip that will lie on the bottom of each wall and at the top. You will also want to cut strips that will run from the ceiling to the bottom of each wall and support beams. The support beams should be toward the end of each wall, or you can add more along the wall for extra support.
• As you finish laying the supports on each wall, you will want to begin to connect the walls. Paste the end support beam of one wall to the support beam of another wall, perpendicular to each of course. Make sure the side without the beams, on the outer side, is the one that you want to be visible.
• For the roof you will want to lay thin strips as well along the roofing pieces you printed out. Lay the strips parallel with the roofing, and begin to attach them to the support beams of the walls.
• Allow enough time for all of the walls and roof to dry, and then inspect and repair any weak sides.
This is a simple way to assemble your own buildings for you model railway, or any scale you are operating in.